Case Study
On this page you can find our current case study project along with weekly progress.
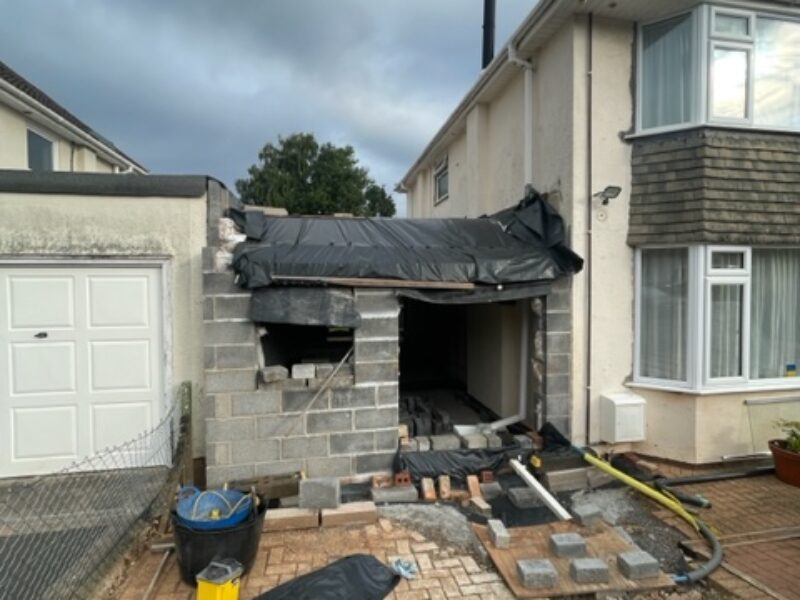
We were approached by a client who unfortunately had experienced significant issues with the work of another builder.
The project was a domestic two storey side extension. The other builder had completed the ground floor level including joists before the work was stopped by North Somerset Building Control (BC).
After a careful examination of the existing structure and a meeting with BC to ensure we understood all of the issues, we concluded that the existing structure should be demolished and built again from the ground up. We explained the issues to the client and they agreed with our approach. We costed the work and a contract was signed.
Underneath you can find weekly progress as the job progresses.
Progression of the Case Study
Week 13 – Another opening
We discussed and finalised the electrical layout with the client. The electrician then started their ‘first fix’ installing the wiring and electrical backboxes, including some internet cables.
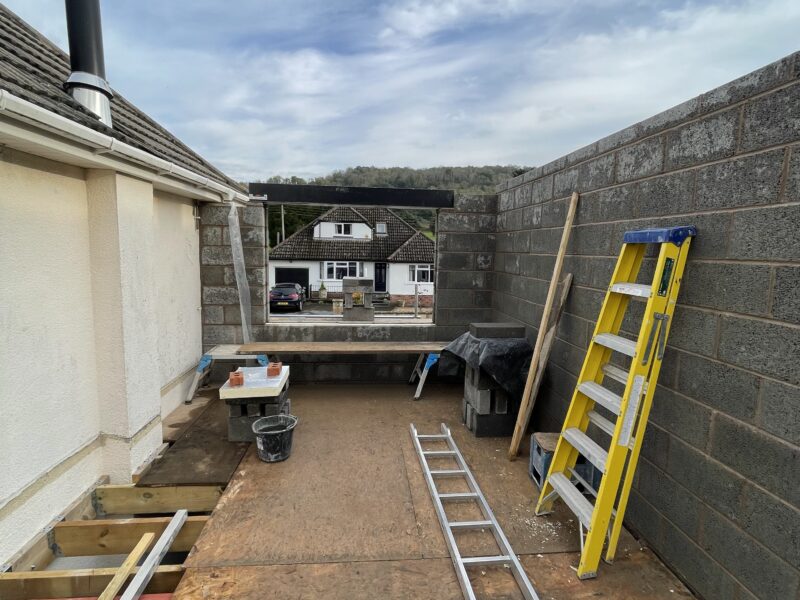
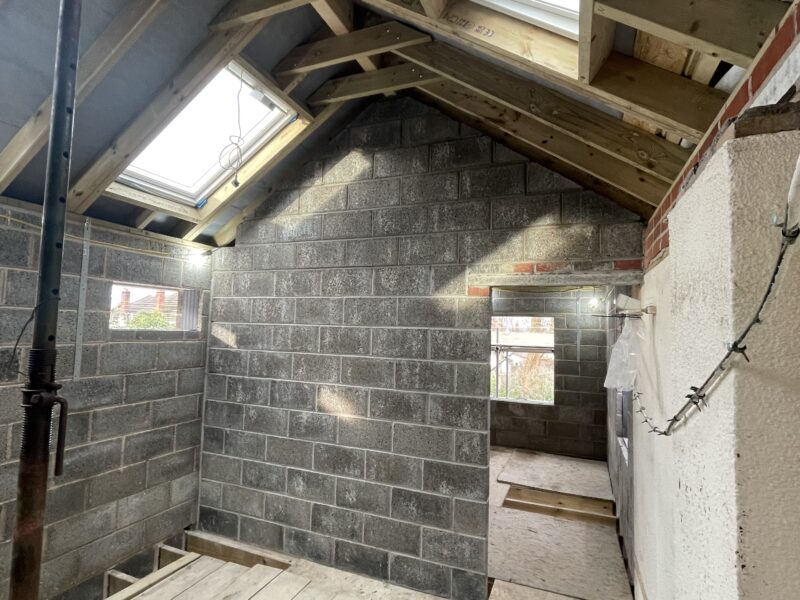
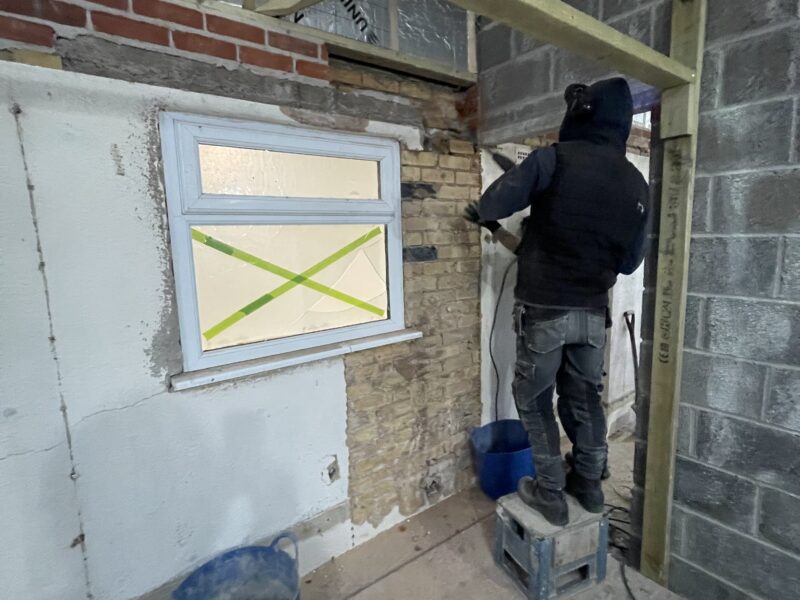
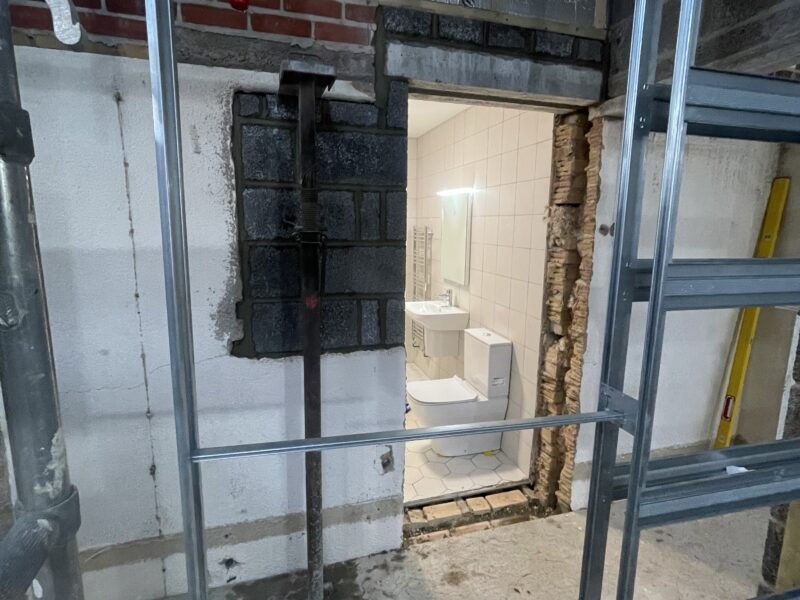
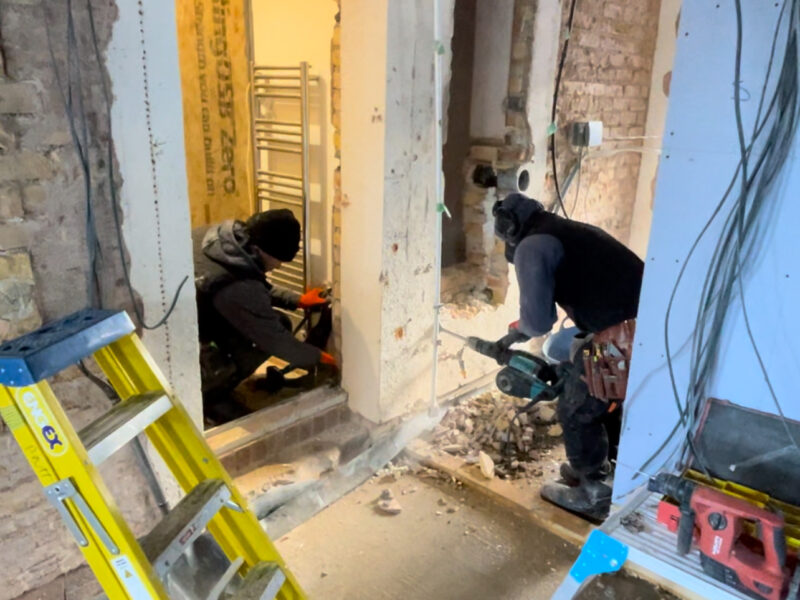
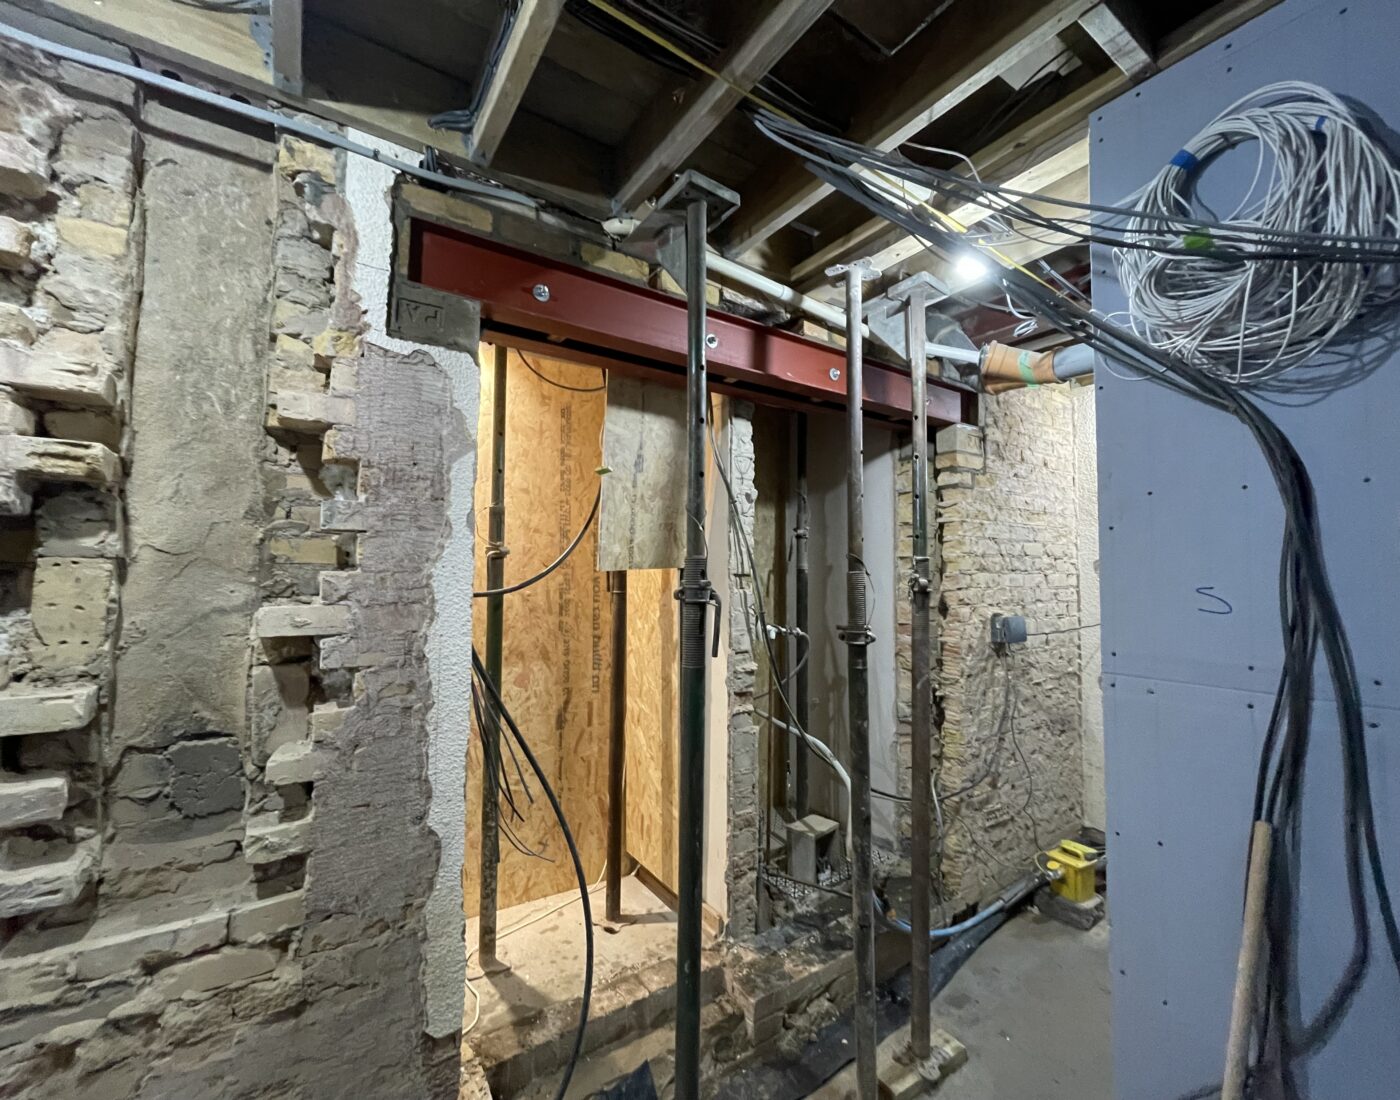
We also created the opening to connect the lower floor of the extension with the lower floor of the existing building, which involved breaking through into the main building. To do this, we propped and removed an existing large reinforced concrete lintel (replacing this with two longer steel beams bolted together), and removed a portion of a wall and a ground floor window under the lintel. Once this had all been removed we added two structural steel beams bolted together to the opening, allowing these beams to support the weight of the house above. We took extra care to board off and sheet in the area to minimise inconvenience and dust for the client who are still living in the main building. We then installed a large pocket door frame in the opening, which will provide the new lower floor entrance into the extension.
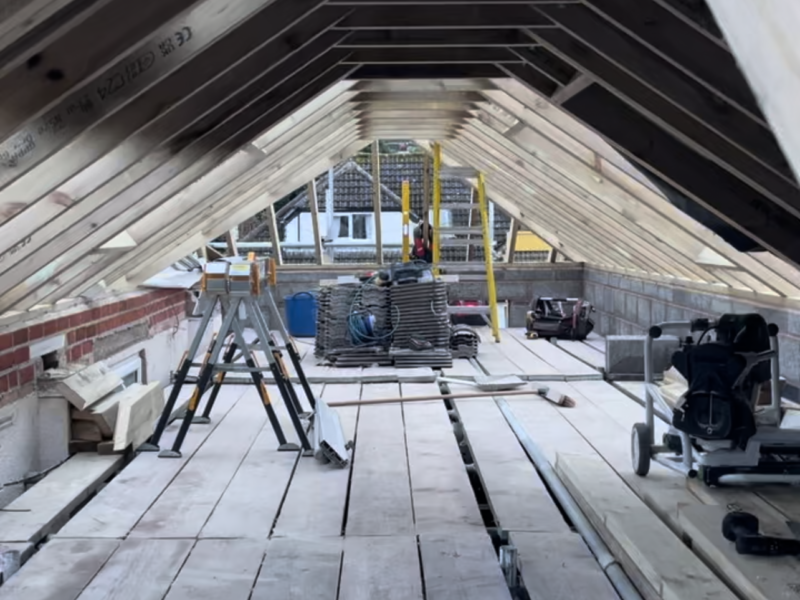
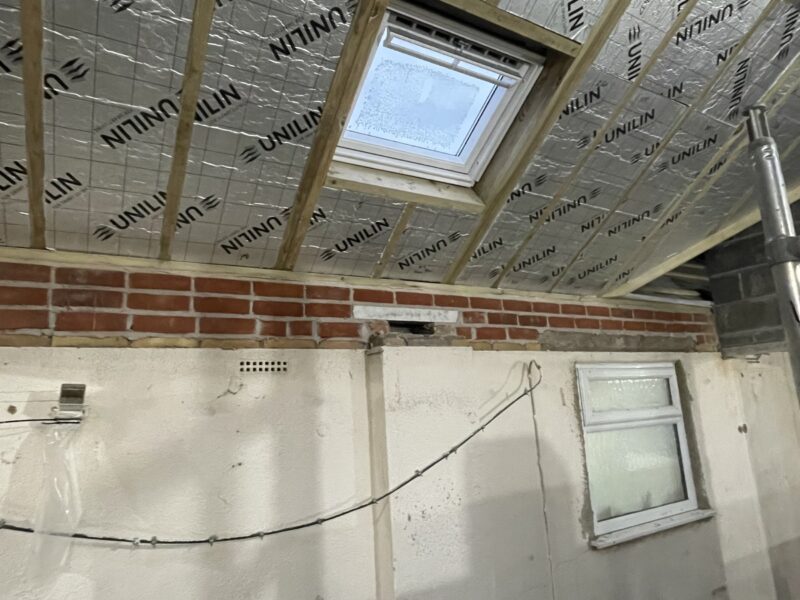
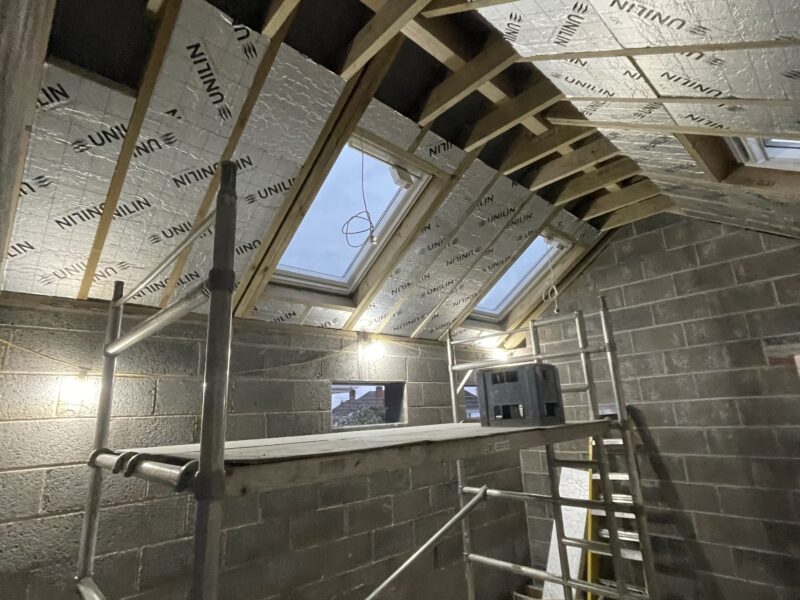
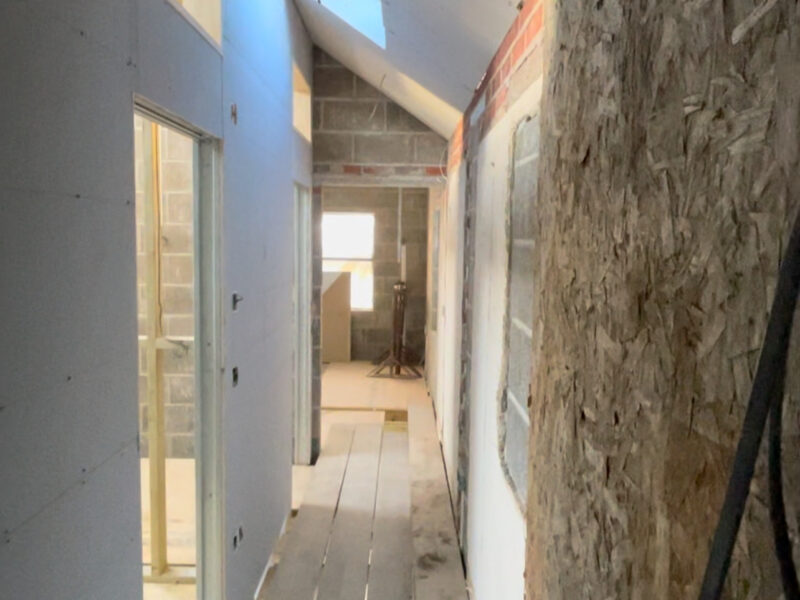
We then began to insulate over the vaulted ceilings using cellotex insulation board to conform with building regulations. Once this was done we could begin to plasterboard the vaulted ceilings also, using moisture resistant plasterboard in the bathrooms.
We finally constructed a small roof for a roof detail located above the front door of the extension.
Week 12 – A new opening
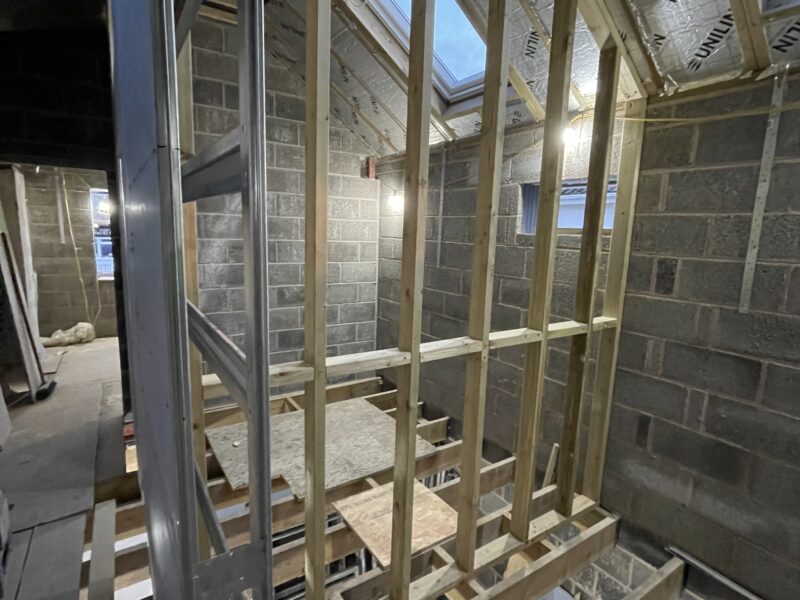
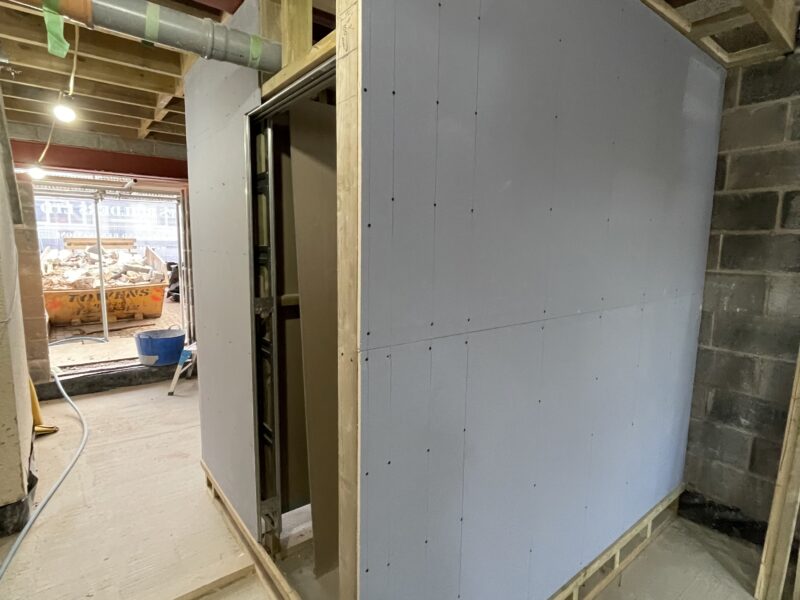
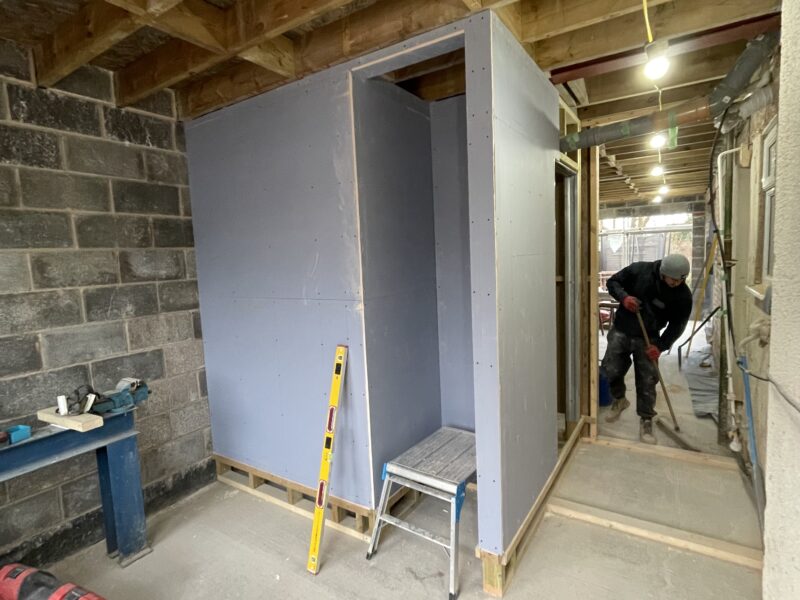
We discussed the layouts of the two bathrooms on the upper level of the extension, and completed the studwork for these bathrooms, including fitting acoustic plasterboard to one side which will dampen any noise from the bathrooms. We also added acoustic plasterboard to the studwork of the downstairs shower room to dampen the noise of the shower when in the living space downstairs.
We also installed a pocket door to each of the upper floor bathrooms, including a window above each of these doors, to allow natural light to move between the Velux windows in the bathrooms and the corridors.
We created the opening to connect the upper floor of the extension with the upper floor of the existing building, which involved breaking through into the main building. To do this, we propped and removed an existing large reinforced concrete lintel, the old bathroom window and wall below the lintel. We then blocked up some of the space to leave the opening for the new entrance.
Week 11 – A New Year
We had the National Grid on site to move the electric meter, installing a new electrical line from the nearby telegraph pole. The electricians then connected the meter back to the consumer unit, restoring electricity to the house and providing enough power for the added extension.
We installed cellotex insulation boards between the roof rafters of the vaulted ceiling of the extension to conform with building regulations, giving the house an acceptable U value.
We also discussed and agreed the layout of the ground floor shower room and began the studwork wall which will hold a feature pocket door allowing more space in the shower room.
We removed a section of a redundant chimney that would otherwise have protruded into the corridors and a bedroom of the extension causing less space. The chimney was external prior to the building of the extension. The void left by the chimney was later filled with bricks salvaged from some previous work, and because we used bricks from the existing building of the house the bricks matched perfectly and the client has decided to keep the exposed brickwork wall as a feature.
We also installed a fourth Velux window in the loft space of the main house, both to allow some natural light in the loft space and to allow easy access for maintenance of the flat roof just outside the window such as cleaning it if needed.
Week 10 – A short week before Christmas
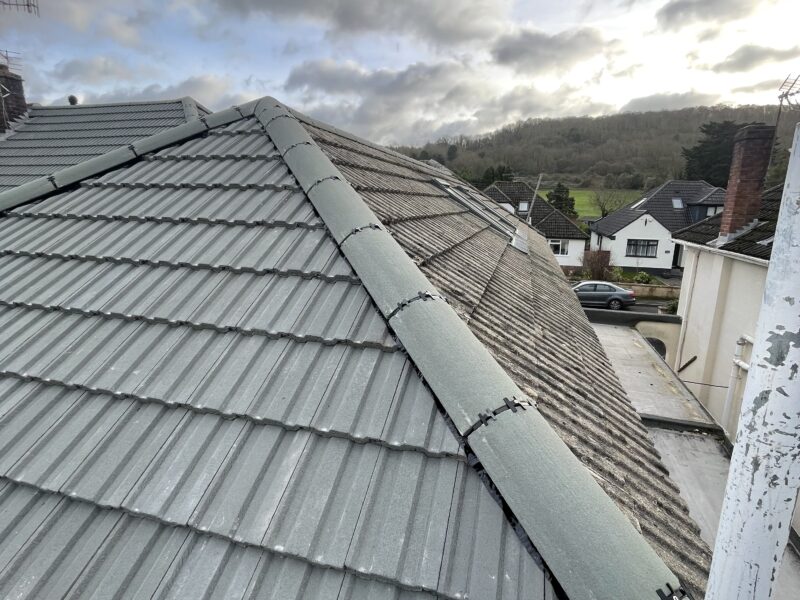
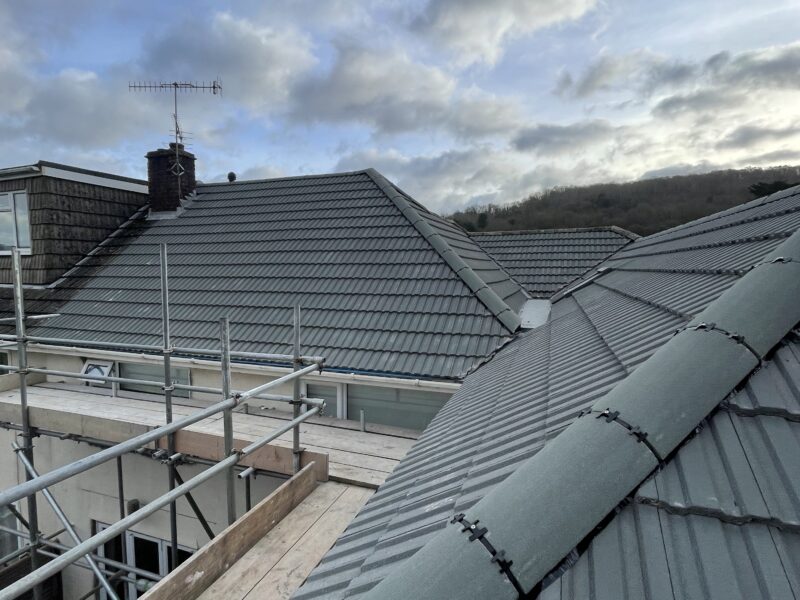
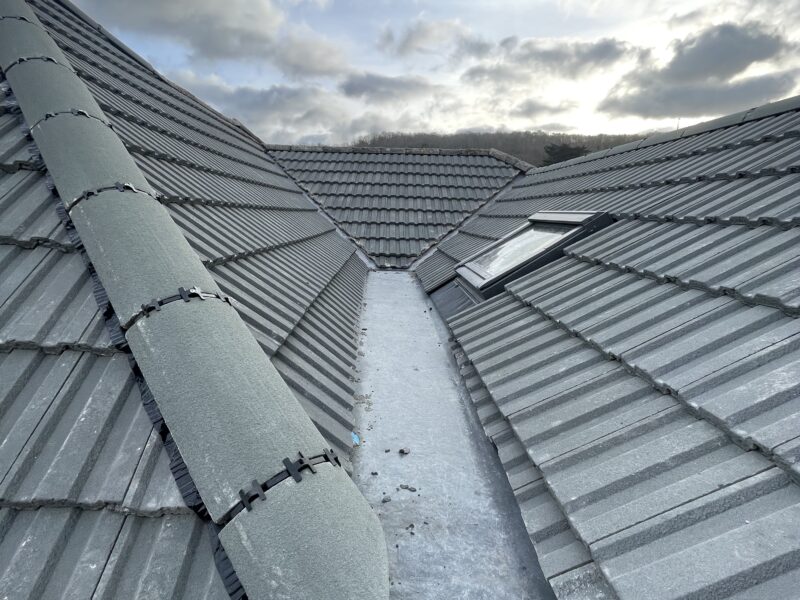
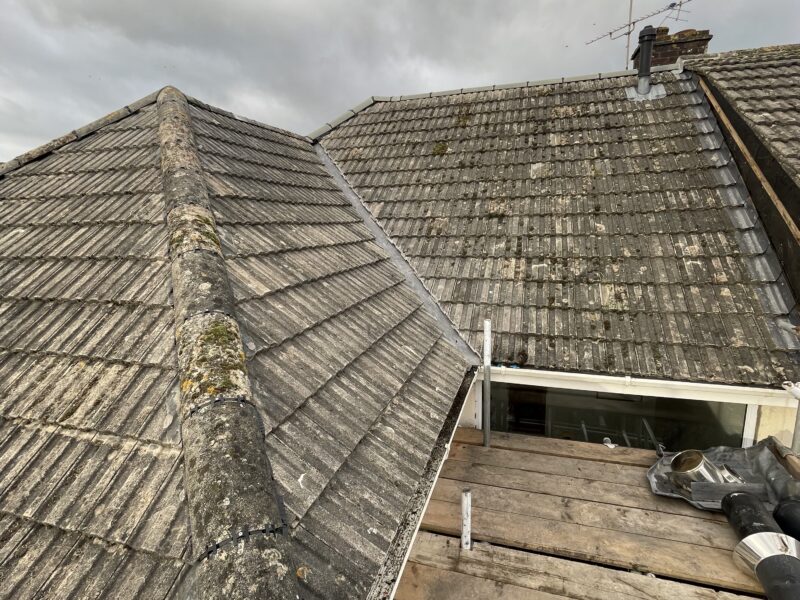
We finished adding the ridge and hip tiles to the roof making this roof waterproofed and ready for the next stage of our project.
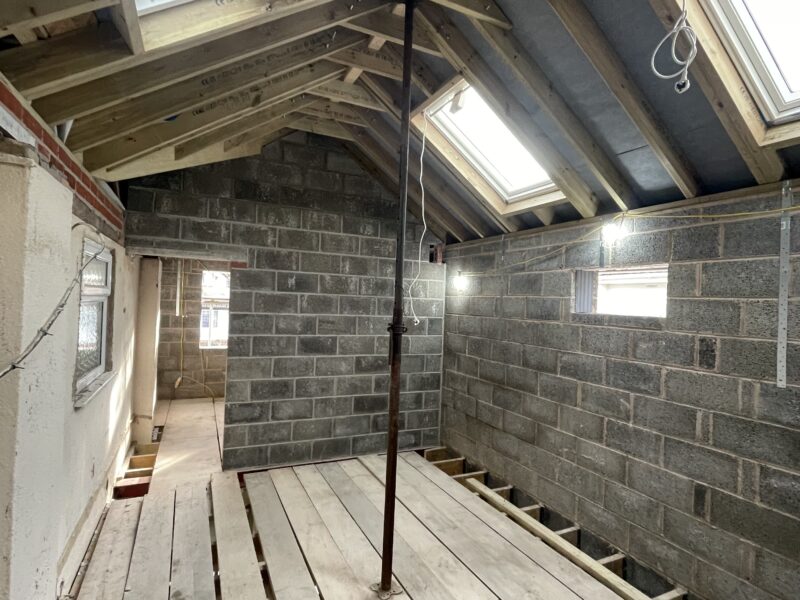
We then installed two electric velux windows and one standard velux window from the inside of the house into the vaulted ceilings allowing for natural light in both of the soon to be bathrooms.
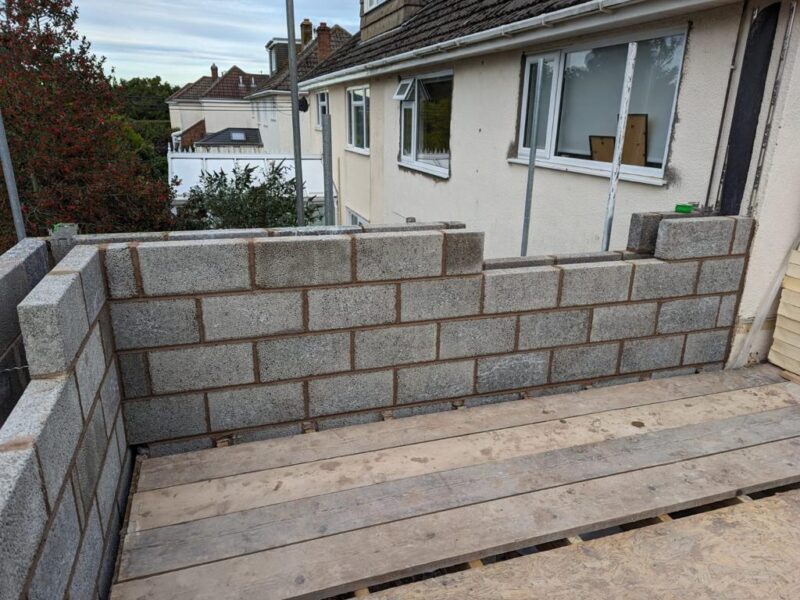
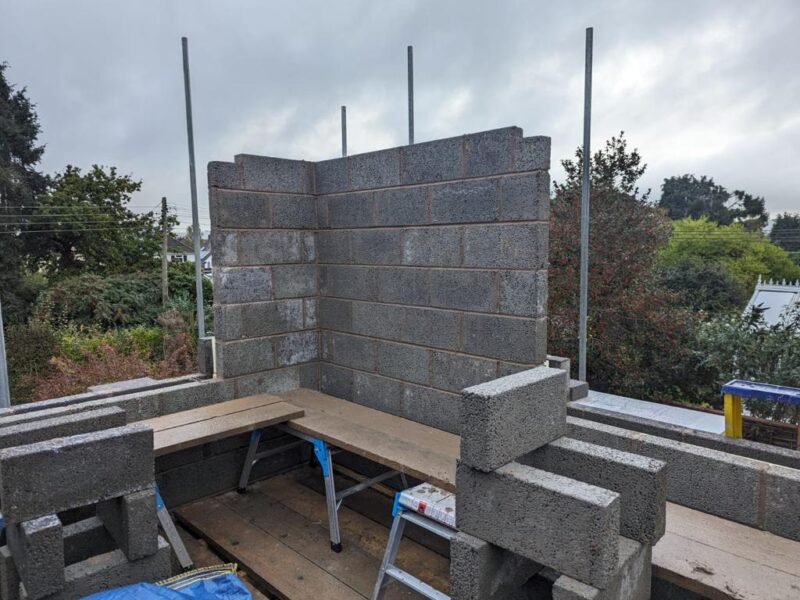
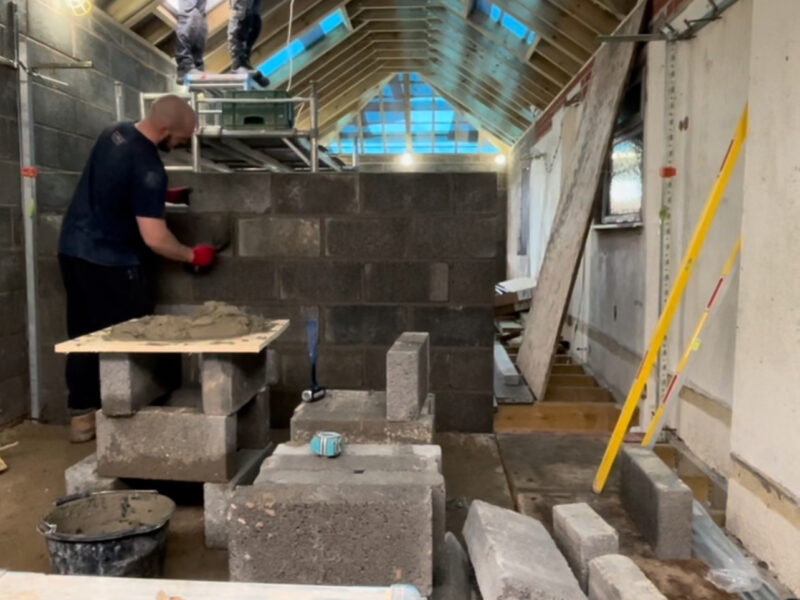
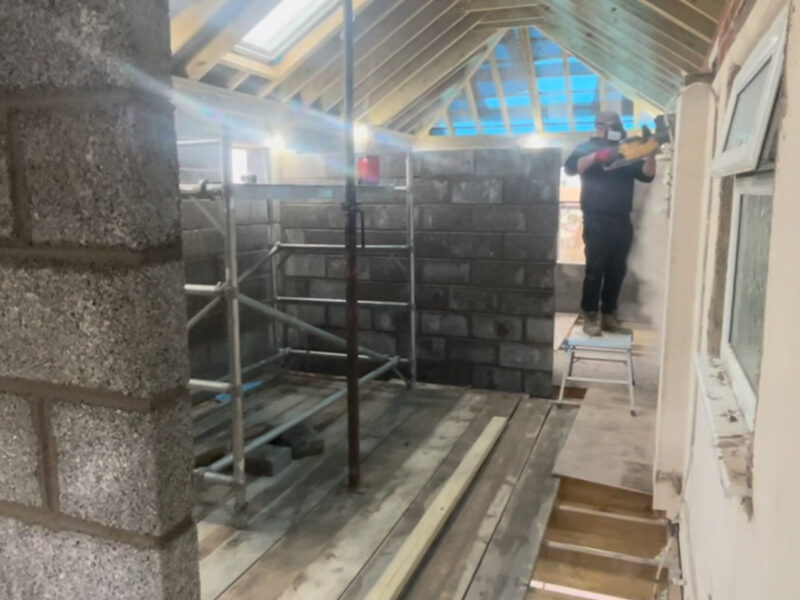
We also did the internal blockwork, building off the steel beams and up to meet and support the glulam ridge beam of the extension. These two new block walls will create the two bedrooms at the front and the back of the house leaving space for two bathrooms between them.
We also made the initial preparations to have the electric meter moved.
Week 9 – Tiling the roof
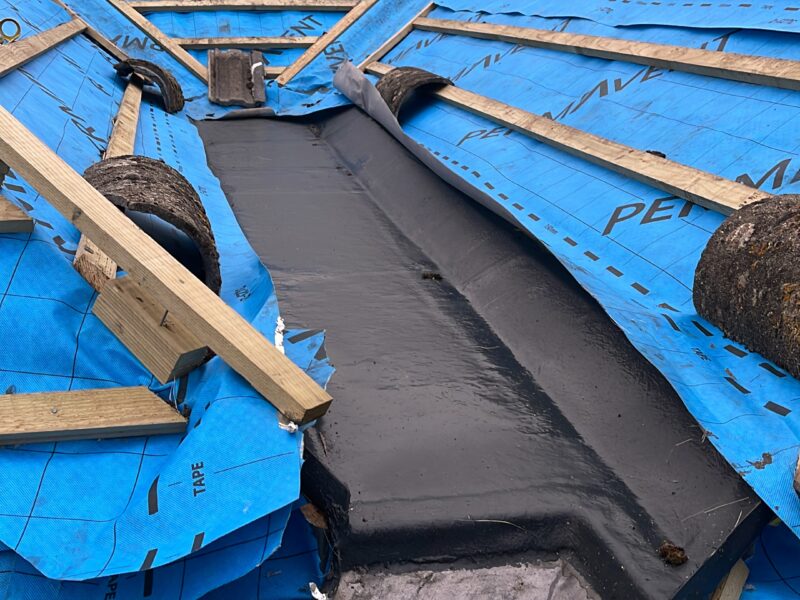
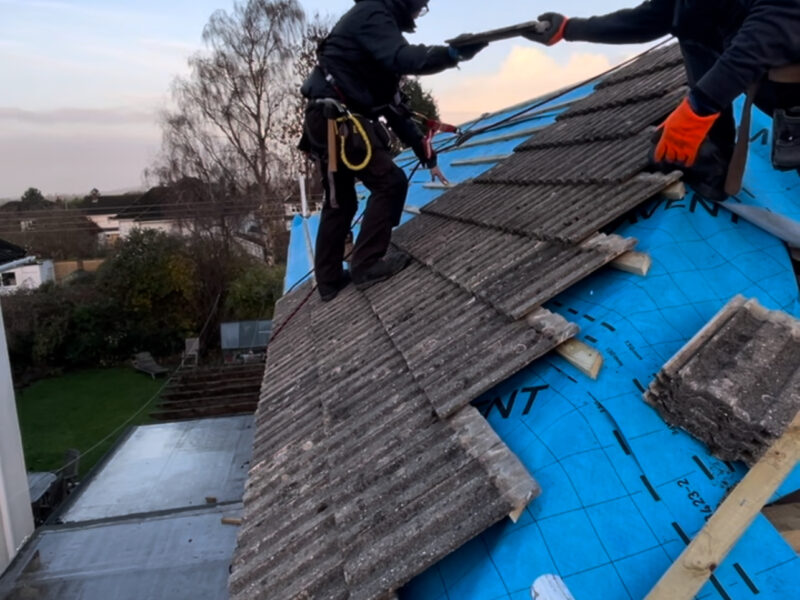
We continued to tile the roof with the existing and new tiles also installing new lead work in the three valleys on this intricate roof. Once we had tiled in all of this roof we began to work on adding the hip and ridge tiles. We used a dry ridge system on this build compared to doing cement work as we believe that the dry ridge system is much more efficient and longer lasting for the client.
Week 8 – Waterproofing the Roof
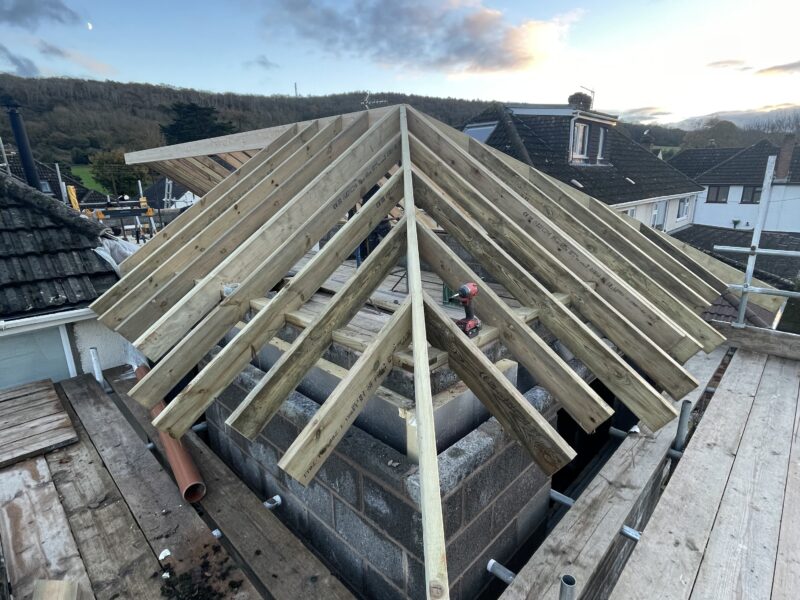
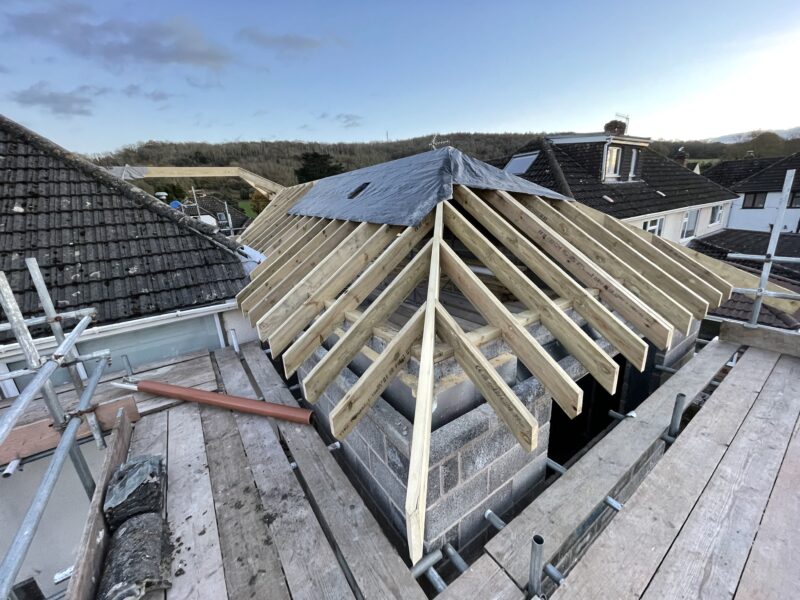
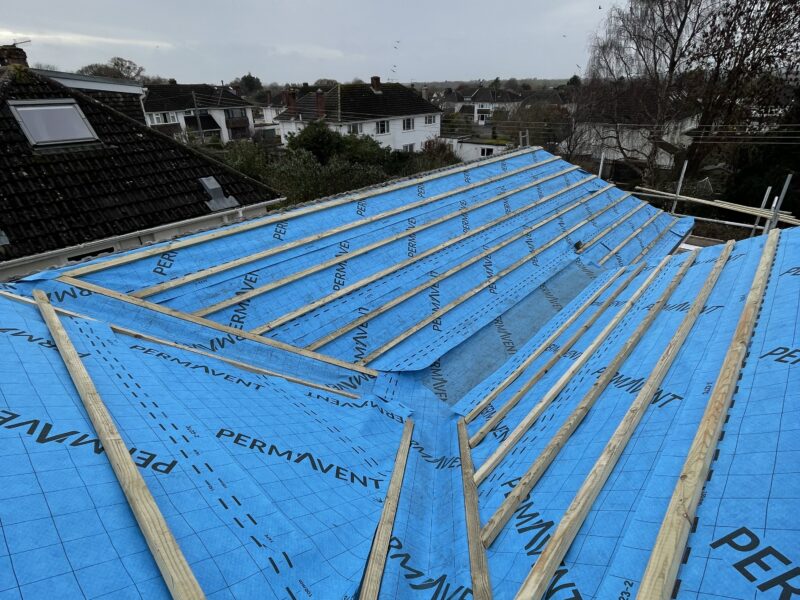
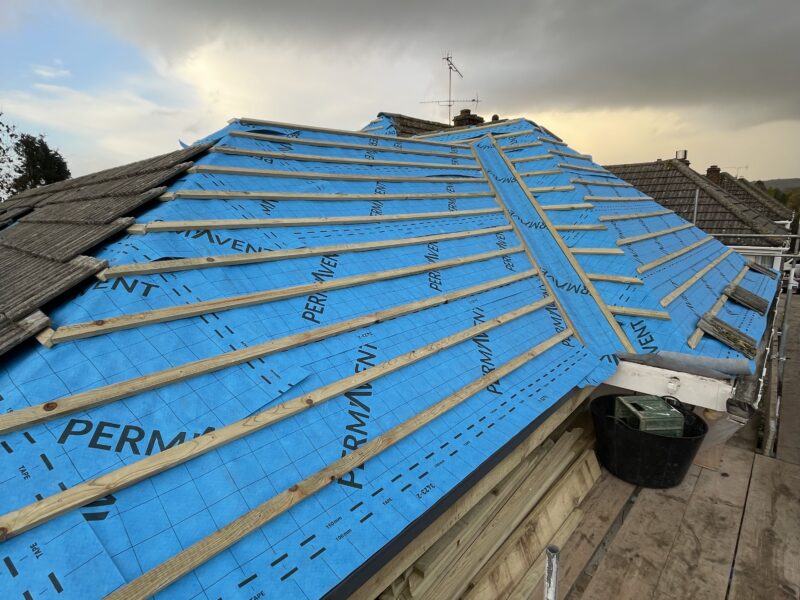
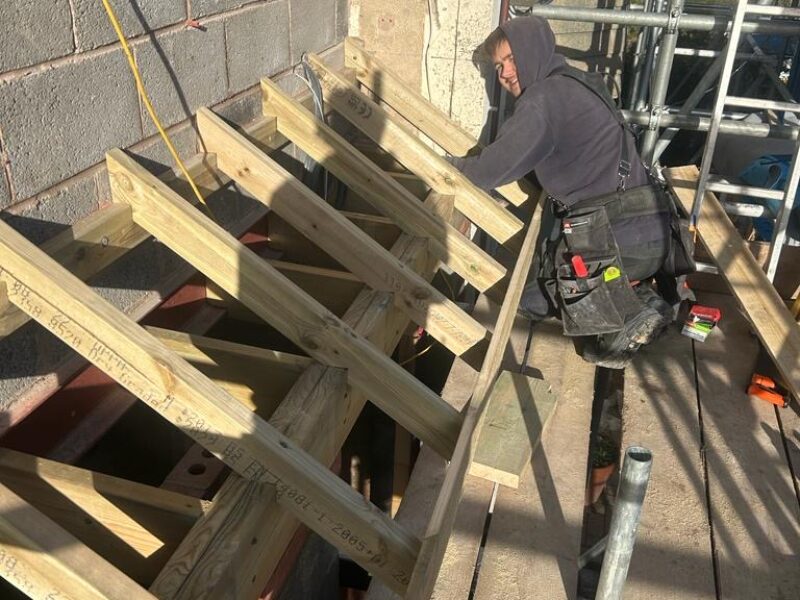
We started this week by finishing the timberwork on the roof involving fitting all the remaining valley rafters and lay boards ready to waterproof the roof.
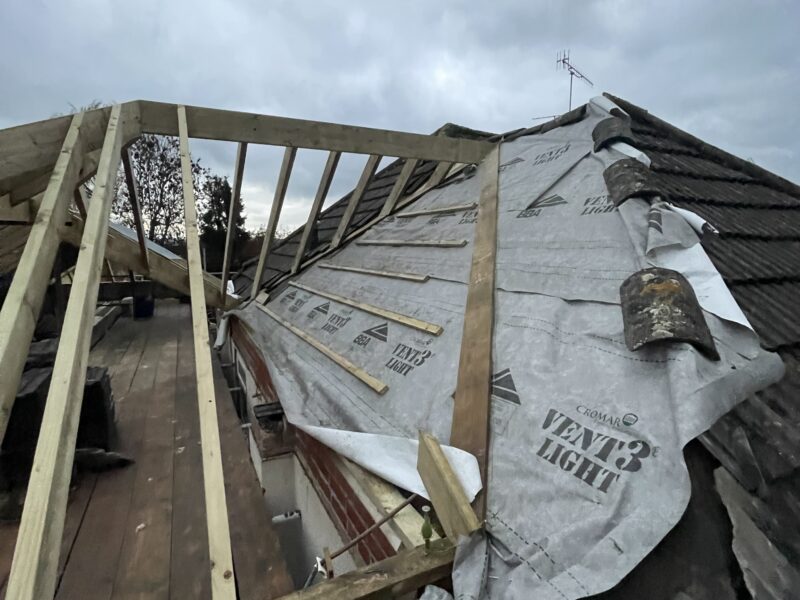
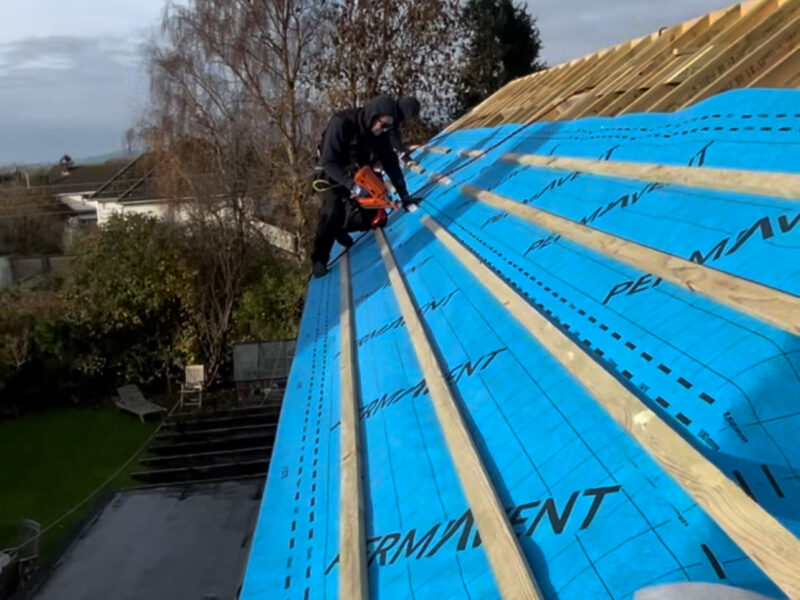
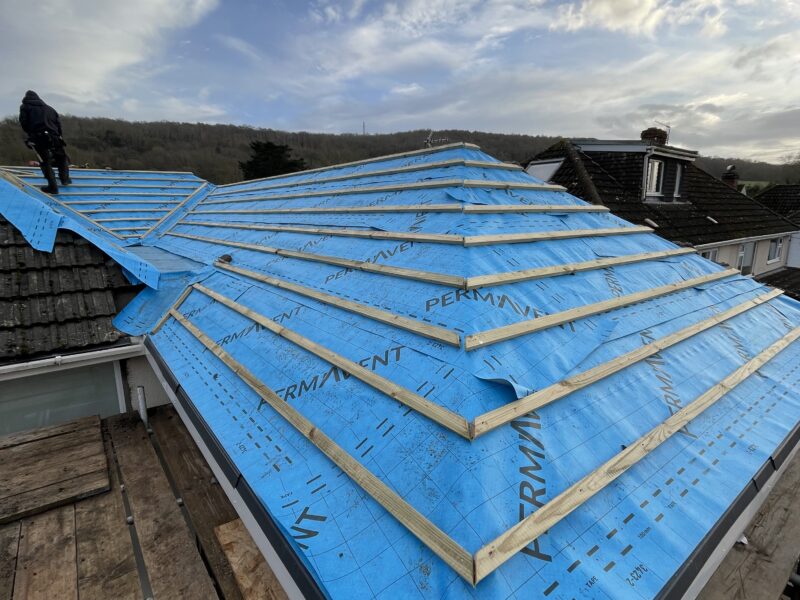
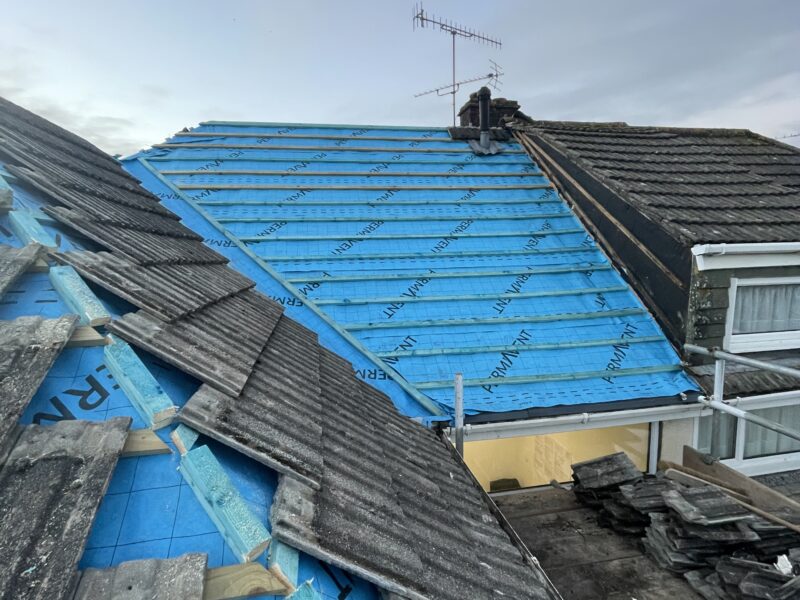
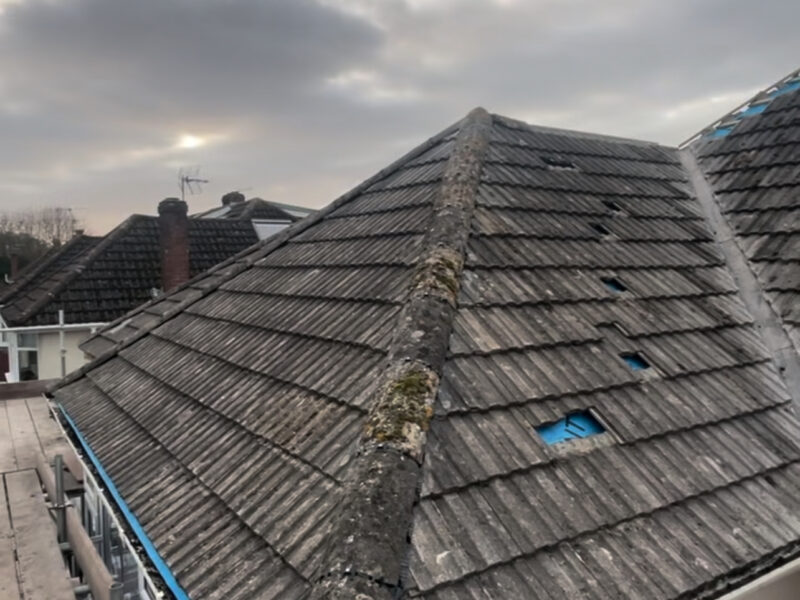
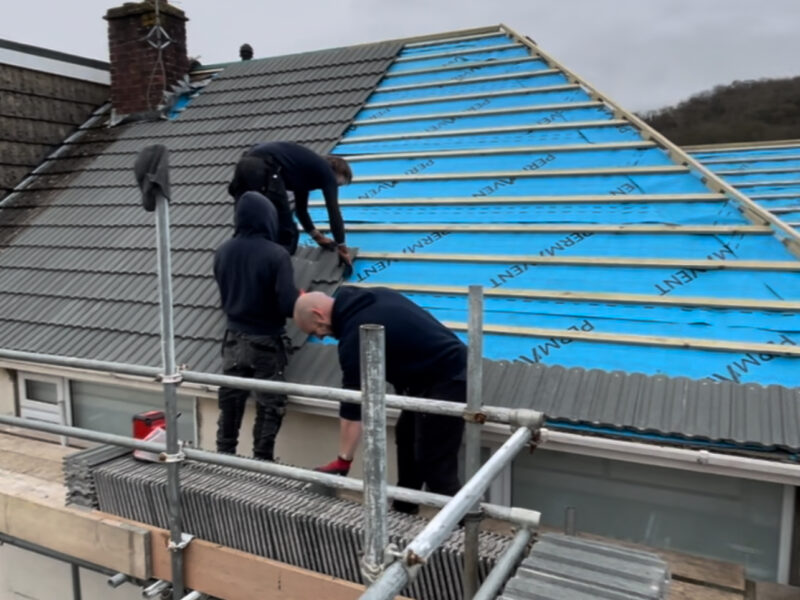
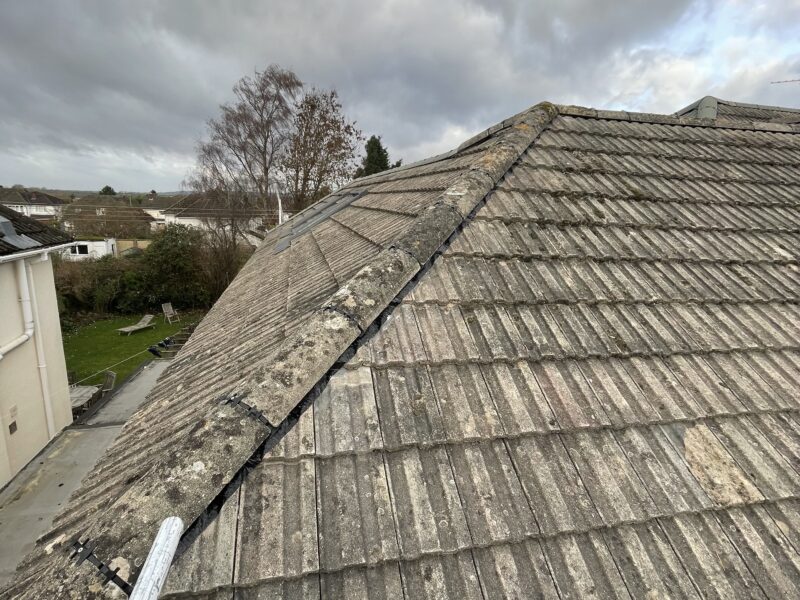
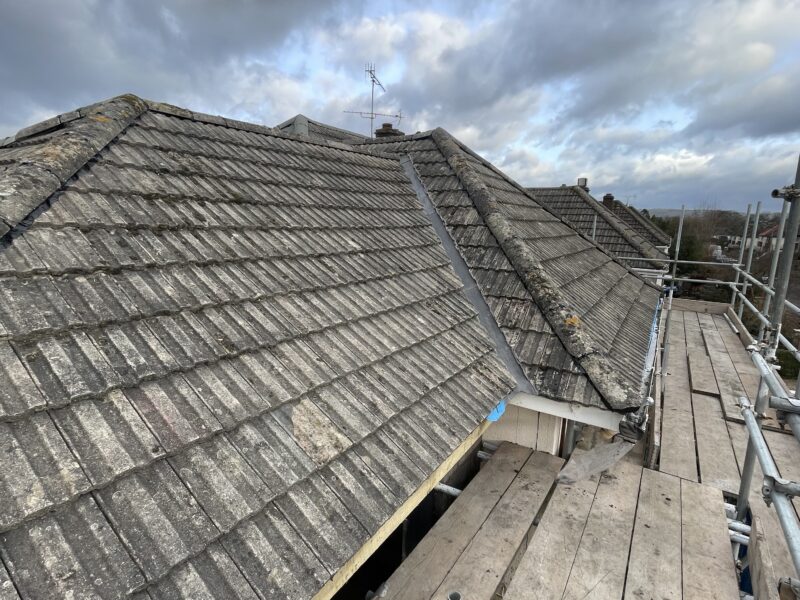
We then began the process of waterproofing the extension roof using a breathable and waterproof felt. We stapled down our felt and battened in the roof with the correct spacings ready for our roof tiles. Once the extension was felted and battened in we then began the process of stripping the existing roof. This involved removing the old tiles and carefully placing them aside for further use, removing the old batten and taking off the old felt replacing it with our breathable felt.
We had our flat roofing contractor come in to install a grp flat roof in our gutter.
Once the whole roof was felted and battened in making the building water tight, we began placing the roof tiles back on the roof. We used the existing tiles on the front of the roof so from the street the house looks unchanged and original.
Week 7 – Roof continues
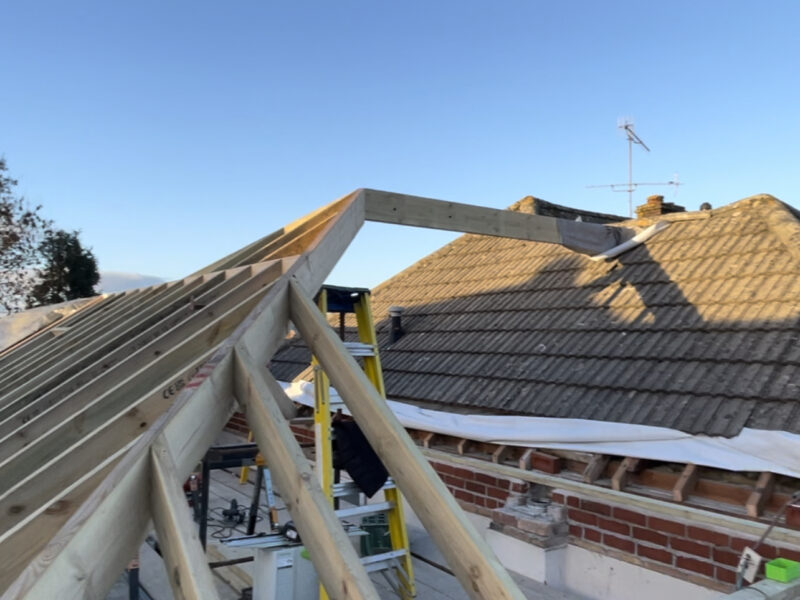
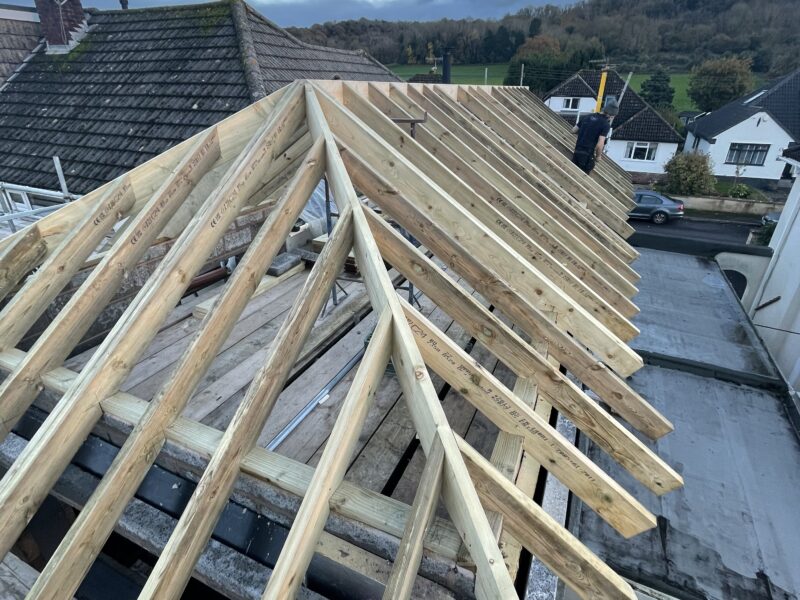
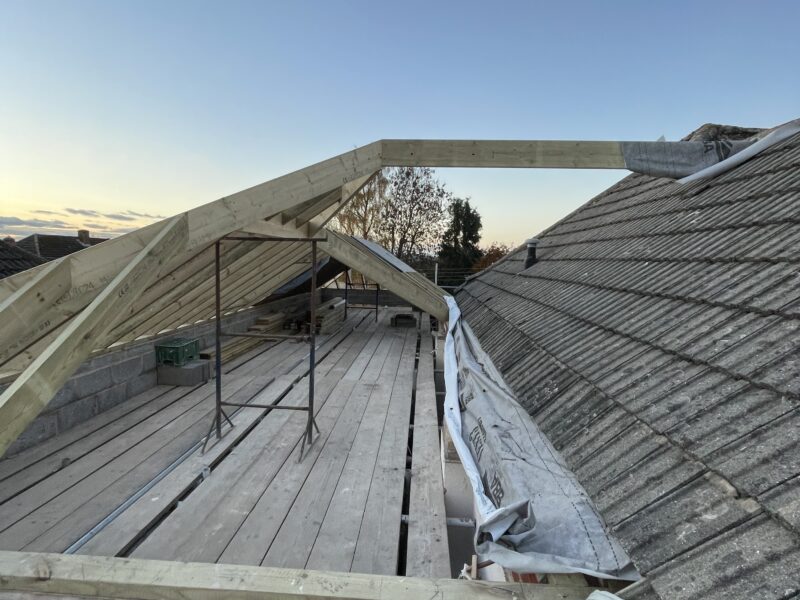
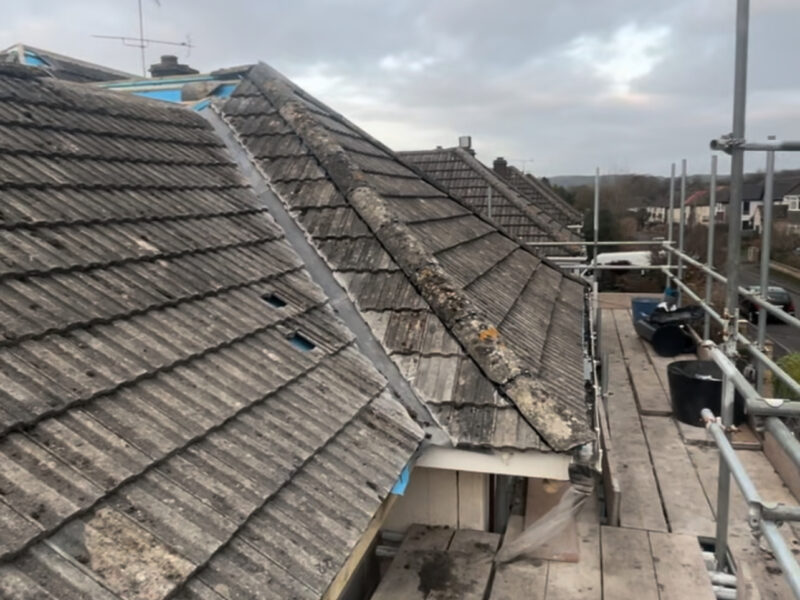
The roofing team continued their work, completing the installation of the rafters along the main ridge of the extension. They then began the work of fitting hip rafters to the extension roof. We then cut the new roof into the existing roof to include a ridge beam and valley boards. This involved removing some of the existing roof tiles and a log burner chimney from the roof of the main house. We carefully set these tiles and metal chimney aside for reinstallation later. Wooden collars were fitted between rafters to tie in and support the new roof structure.
Week 6 – Starting on the roof
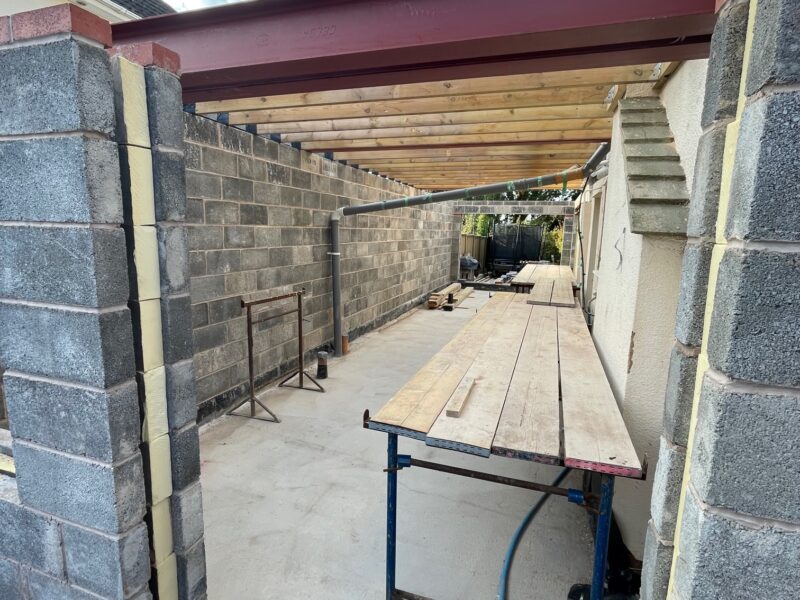
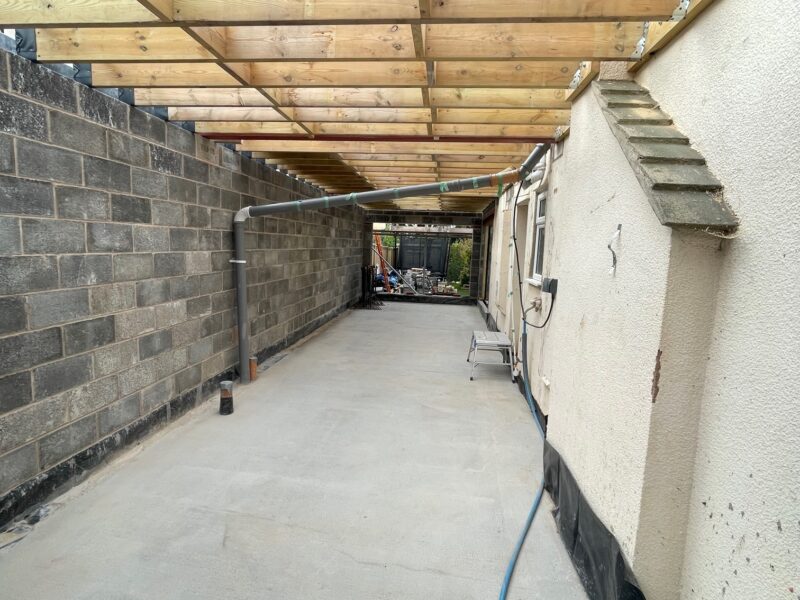
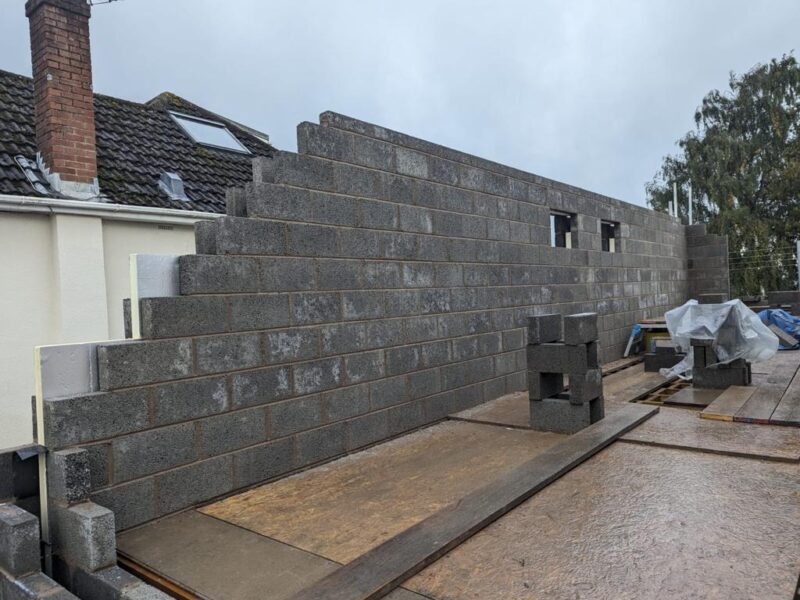
Our roofing team began by fitting the timber wall plates along the top course of the blocks of the extension. We also exposed some of the outer leaf of the existing house where it meets the extension and added a wall plate along this wall also. This first involved adding courses of brickwork to the exposed inner skin to bring it up to the correct level. Rafters were cut and fixed between the wall plate and the glulam ridge beam.
Week 5 – First floor continued
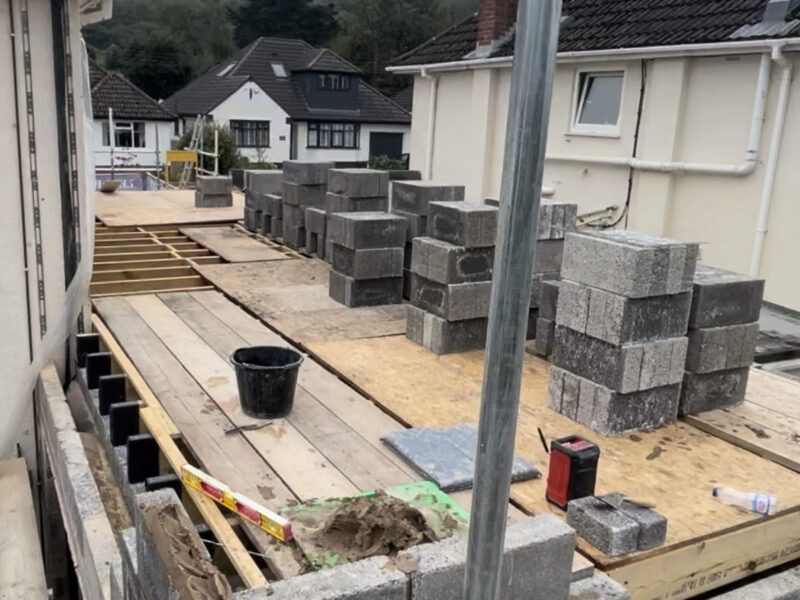
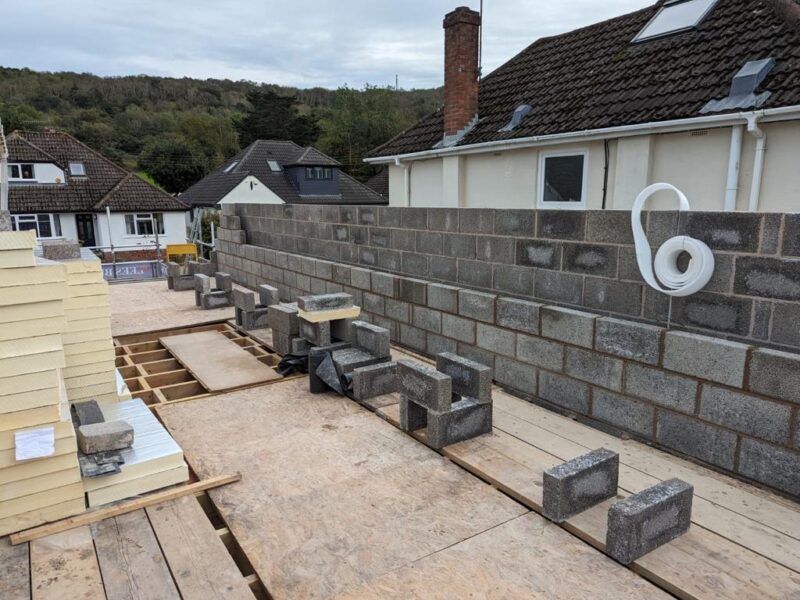
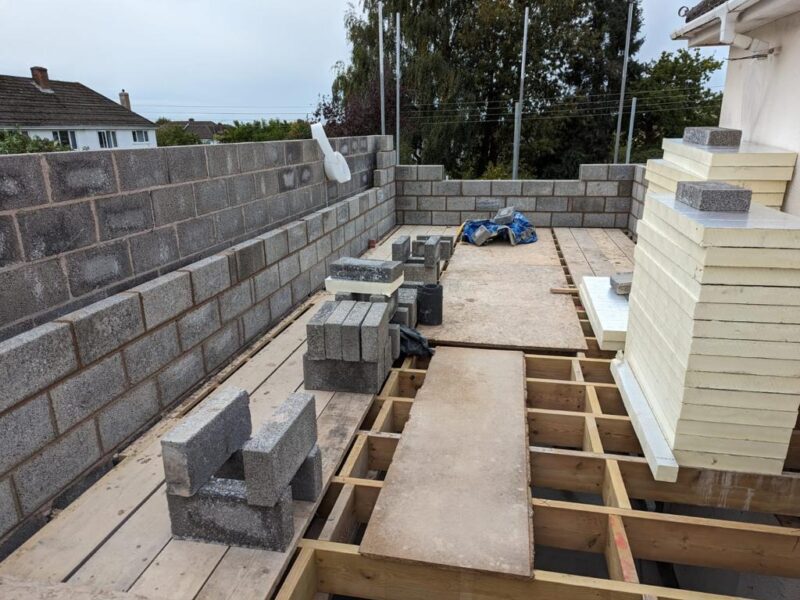
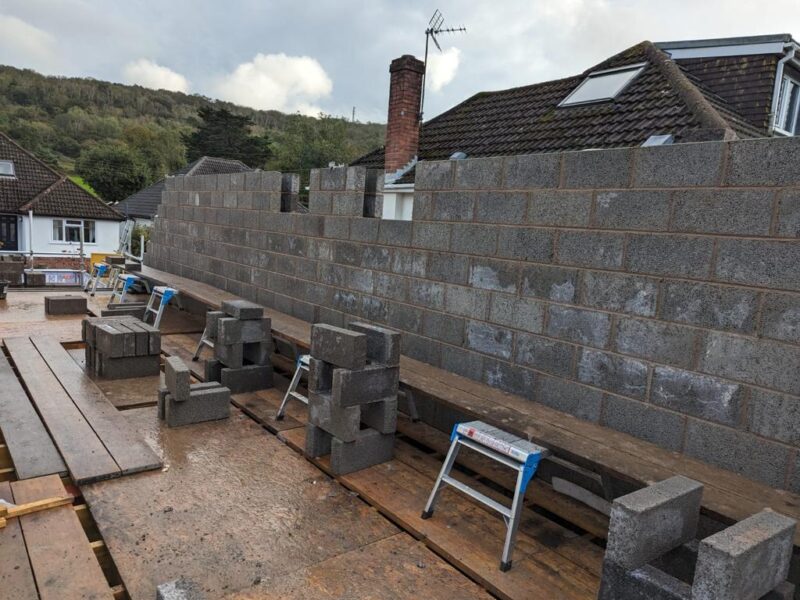
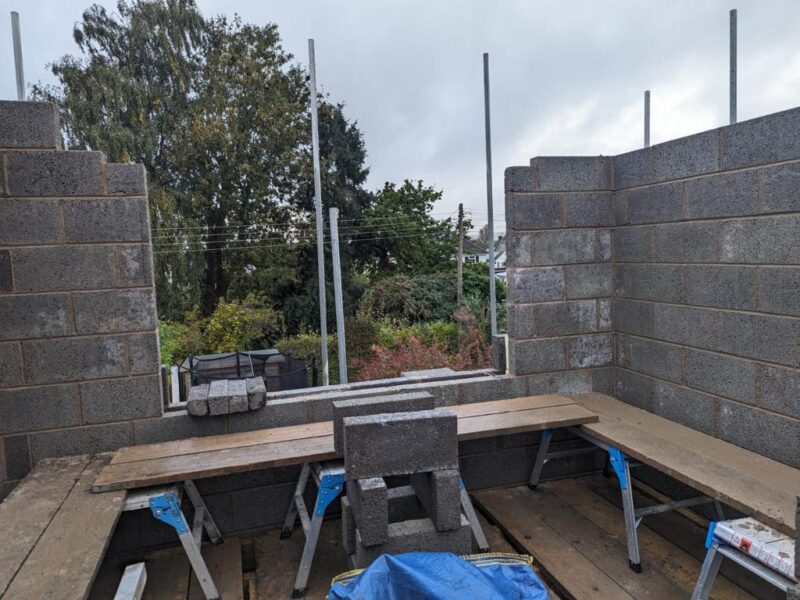
On week 5 we continued with the cavity wall for the upper floor, using the last of the concrete blocks recycled from the demolition phase for the outer skin, and using insulating ‘ultralight’ concrete blocks for the inner skin to maximise the thermal insulation value for the building for building regulations. We discussed with the client and confirmed the exact sizes and placement of the upper floor windows in accordance with the plans, also ensuring that the top and bottom of the new windows will line up with those of the existing building. Lintels were carefully placed above the openings for each of the windows.
The client also spoke about adding a window seat along the large downstairs window, so they could sit and read or look into the garden (or at the new patio we will be installing later in the build). We advised that this would be possible with some modifications, mainly involving building up the base of the opening for the large window to accommodate the seat which we have done for them.
Week 4 – Timber joists and first floor
We added timber joists at the ground floor level ceiling height. We were pleased to be able to reuse most of the joists saved from the demolition phase and these joists will support the upper floor level. We then had the first lift of scaffolding installed, in preparation for work to continue on the first floor. We then finished the week by carrying on with the cavity wall.
Week 3 – Steel beams and Cavity Wall
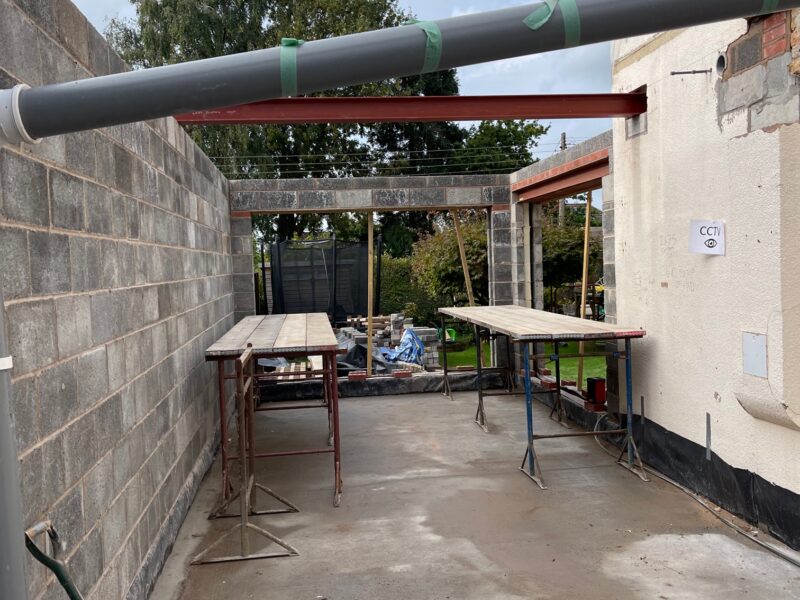
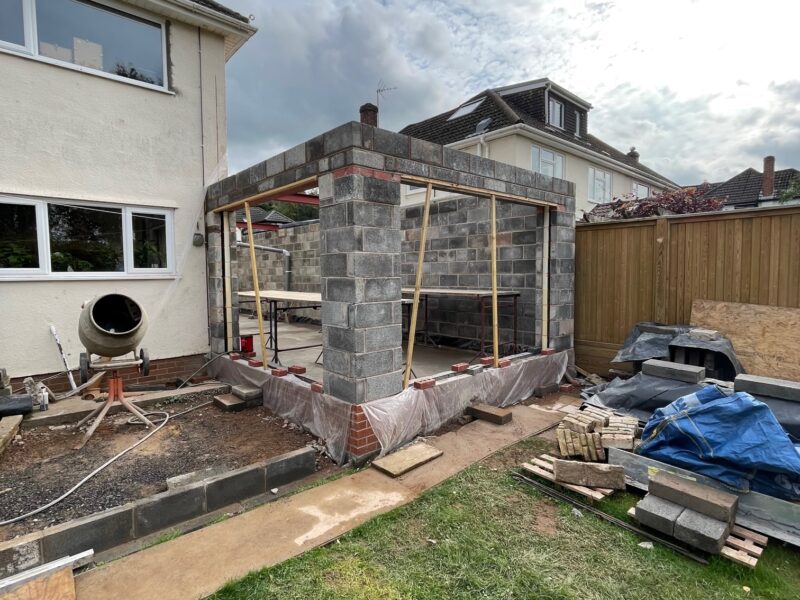
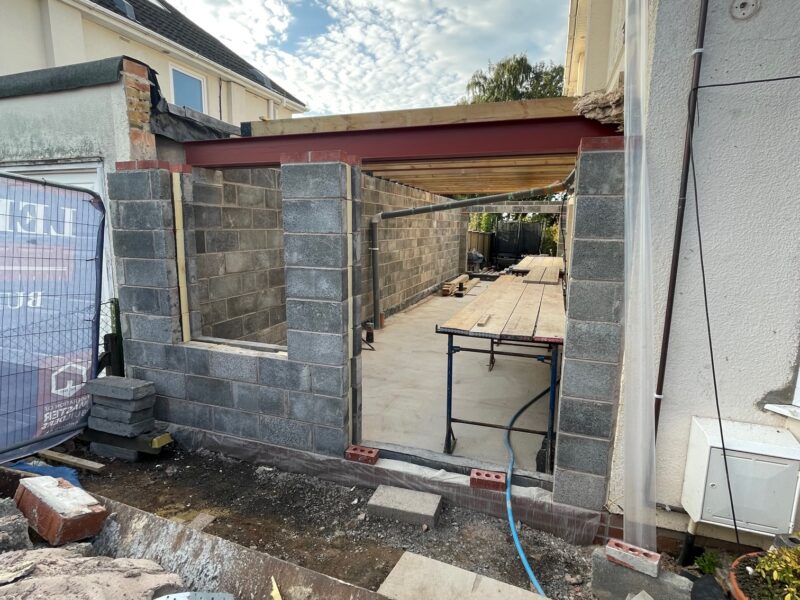
We continued to build up the ground floor level cavity wall reaching the first floor height. We carefully prepared the exact locations of the padstones on the inner leaf of the cavity wall and the outer leaf of the main building. After careful measurements on site, we cut the five steel beams and the large window lintel to the correct size. The padstones were installed in position, and after allowing the mortar to dry and harden, the large steel beams and lintel were carefully lifted into position with a Genie lift so that they sat squarely on the padstones with the correct bearing, in accordance with the structural engineer’s drawings.
Week 2 – Concrete slab and ground floor level cavity wall
The client had mentioned that they would like to add a shower to the downstairs bathroom. We discussed the possible layout of the bathroom and agreed a location for the new shower. This required the addition of a new drain and a conduit for the mains water pipe, which would need to be included before laying the new concrete slab.
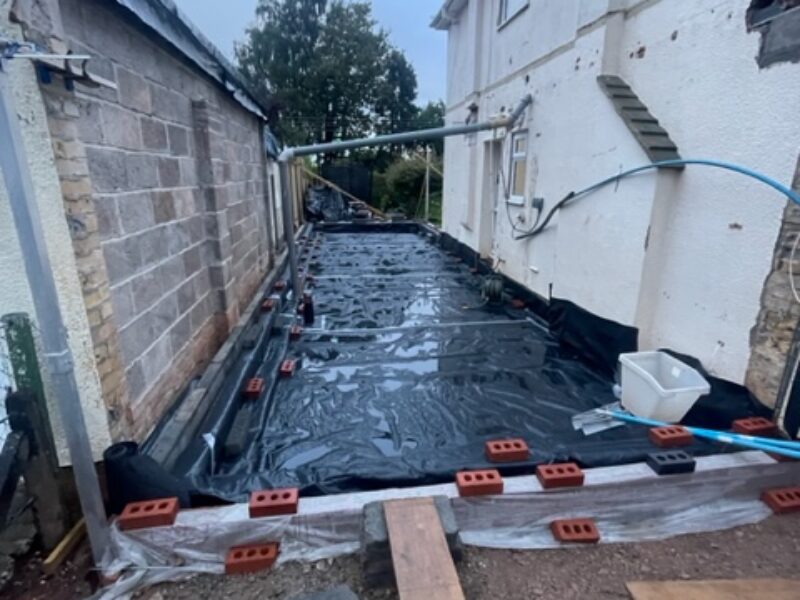
We added hardcore (type 1) and then blinding sand, carefully compacting each layer, before laying the new DPM layer and taping any joins.
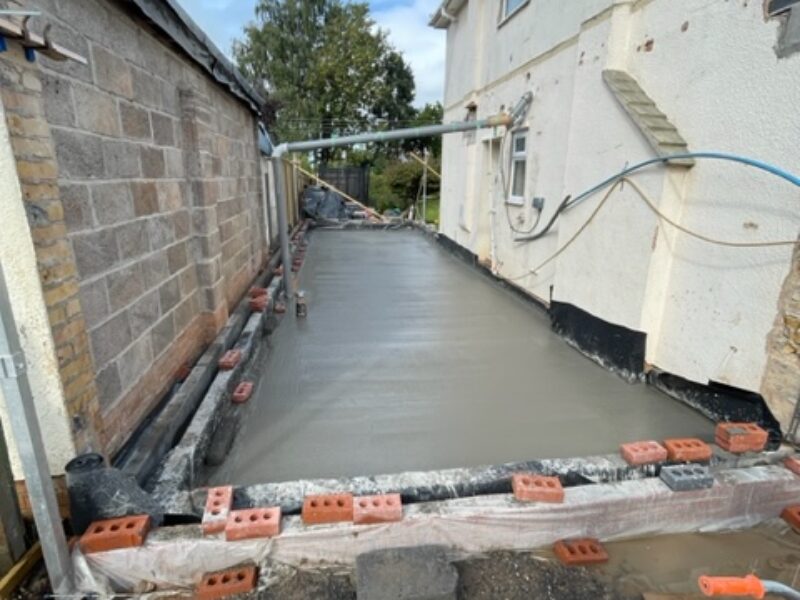
We then added the concrete for the slab up to the predetermined correct level. We used fibre-reinforced concrete, as we believe this is the best option. We allowed the concrete to cure.
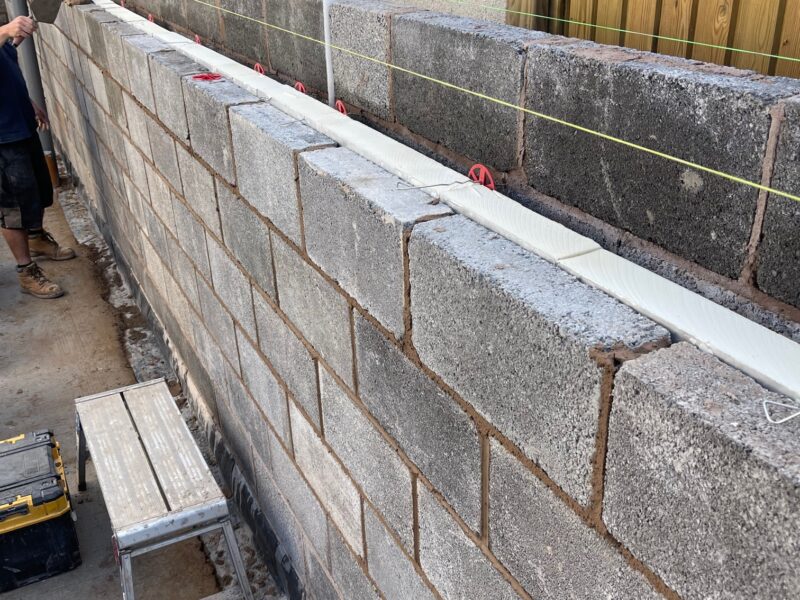
We then started building the cavity walls in accordance with the plans, and after confirming with the client the location and size of the door and window openings.
By the end of the week, we had built about half of the ground floor level cavity wall. We installed Celotex insulation within the cavity wall, making sure to keep the cavity open, clean and protected from rain.
Week 1 – Preparations
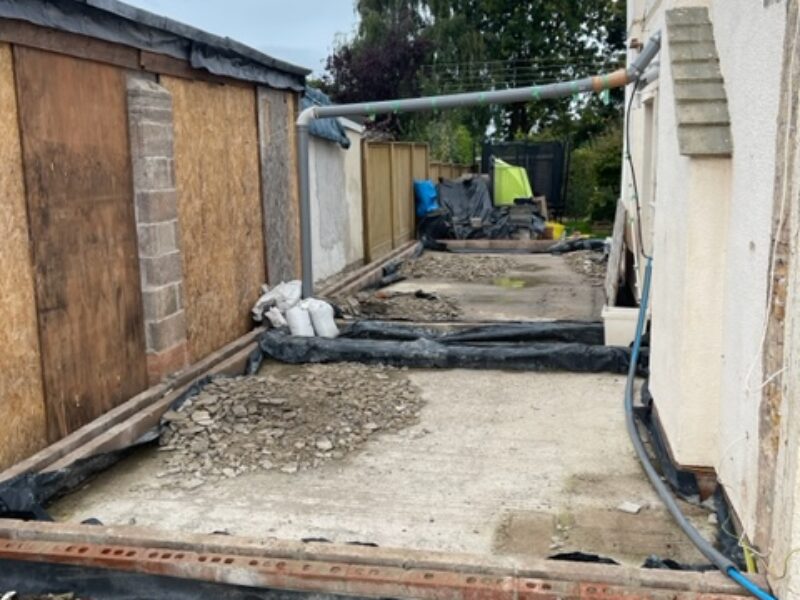
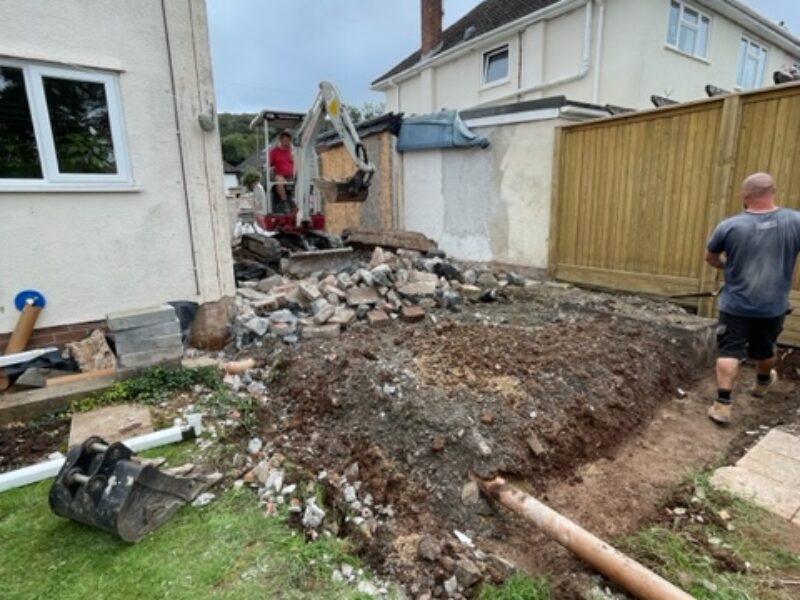
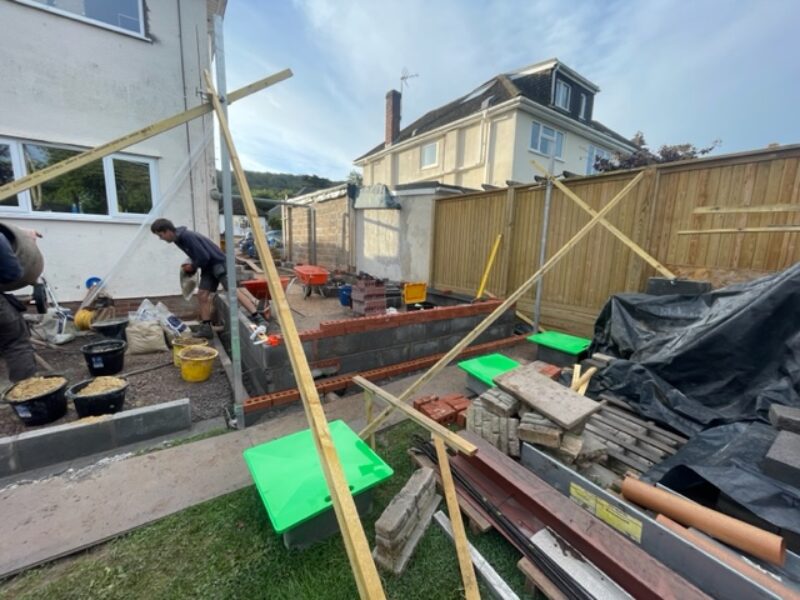
We removed the existing concrete slab and associated material from the site. At the same time, we dug foundations and cleared space for a patio area and retaining wall. We leveled the main site and carefully set out our levels ready for laying the blockwork.
We began by getting the new building up to damp proof course adding the starter sections for the replacement cavity wall. At this time, we also contacted the structural engineer to confirm the specifications of the various structural elements (e.g., the location and type of steel beams needed and location of the expansion joint)
Remedial stage – Demolition
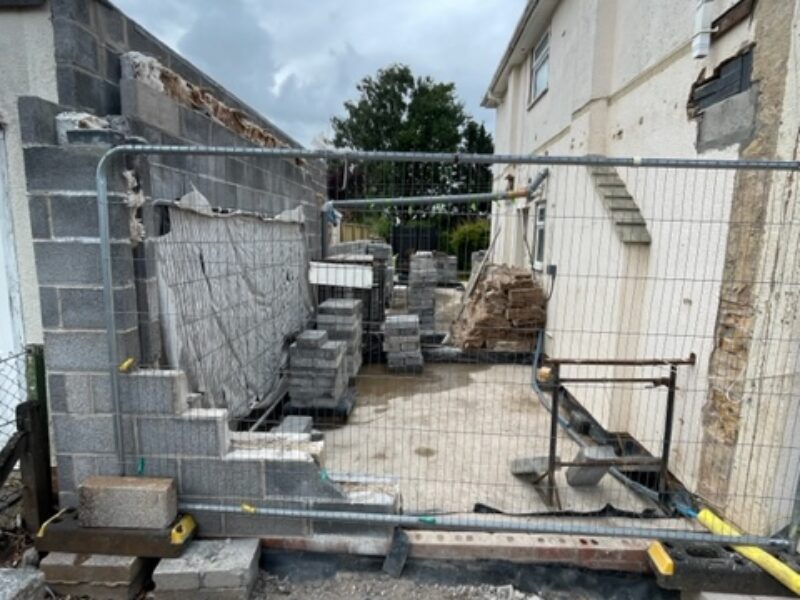
The existing structure was carefully demolished, keeping aside any materials that could be reused (blocks, steel beams, joists, lintels etc.). This work needed to be done carefully, partly due to the close location of a neighboring garage.
Following the demolition, we were able to review the existing concrete slab laid by the other builder. We identified some issues with the slab and the associated damp proof membrane (DPM) layer and discussed these with the client. We believed it was best to remove and replace the existing slab and DPM. We discussed the issues with the client and the associated costs, and the client agreed with our proposal.

